Jul 2 2007

My Upper Rear Shock Mount Fix

After replacing the rear shocks on 3 different XJ’s before (much older than my 2000) I had only broken one upper bolt before, so I really wasn’t too worried about breaking any on my 2000. Was I wrong! I broke all 4 trying to remove them.

Instead of trying to drill out the broken bolts, or punch out the wled nut, I decided to build new mounts instead.

I had these tabs lying around from RuffStuff that I never used, so I figured I’d put them to use here.

So I went to the hardware store and got some metal sleeves that fit inside the bushings on my shocks alogn with some new bolts.

Then I cut a piece of 3/16″ flat stock to length.

Fit it up.

Then welded them up.

….and last I welded the new mount over the old one (Please ignore the crappy looking welds, I really suck at welding upside down). Fixed!


Jun 24 2007

Balancing Tires with Airsoft BB’s

After knocking plenty of wheel weights off of the wheels on my old XJ, I decided to try something different with my new one. I figured I would try dynamic balancing on my new 32″ tires. After referencing the chart here, it looked like I would need about 8oz of weight per tire. In order to help keep costs down, I ended up going to Wal-Mart and picking up a container of Airsoft BB’s and a diet scale:

Next I went ahead and measured out 8oz on BB’s and placed them into 4 separate Ziploc bags.

Once that is done, it’s time to get them into the tires. My tires were already mounted on the wheels, so all I needed to do was break the bead so I could get them inside.
Lucky for me, I have the Harbor Freight Tire Changer (the $30 I spent on it was has been well worth it), so that made breaking the beads a simple task.

First, you gotta let all the air out of the tire. Removing the valve core makes it a quick task

Getting ready to break the bead:

Bead Broken:

Next I poured one bag of BB’s into the tire. Make sure they all fall inside and are not stuck on the bead of the tire.

Lastly, all you need to do is air up the tire again and make sure the bead seats again.

Now all my tires are ready to install, and I shouldn’t have to worry about them getting out of balance 🙂


May 21 2007

Rear Disc Brakes on Chrysler 8.25 Rear Axle

I finally got tired of dealing with drum brakes…..so I decided to do something about it. By installing ZJ rear disc brakes on my XJ. I know there are a few write-ups out there already about this conversion, but figured I’d make this one since I know it will be around for a while 😉

First thing you need to do, is acquire the rear disc brakes off of a ZJ. I managed to score a set on eBay for a pretty decent price, but you can also check your local salvage yard as well.

I managed to get everything I needed in one shot. Here is what you are going to need:

– 2 Caliper Brackets
– 2 Backing Plates (Only needed if you want to retain an e-brake)
– 2 Calipers (Mine were in good shape, otherwise you can get new ones from an auto part store)
– 2 Rotors (I had the ones I got cut with no problems)
– Set of Brake Pads (I went out and got new ones)

I also managed to get all the bolts and e-brake cables. I did need to have the rotors turned, but then they were as good as new (you can also see my new pads in the picture).

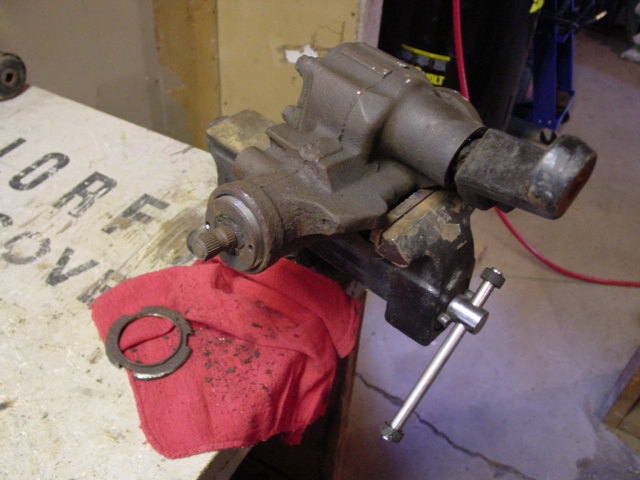
Once you have everything that you need, it’s time to start the install. The first step here is to jack up the rear end, remove the wheels, and get those old drums off.

Now you need to remove the differential cover and drain the gear oil. Next you need to remove the bolt holding the cross pin in the carrier (it’s 5/16″)

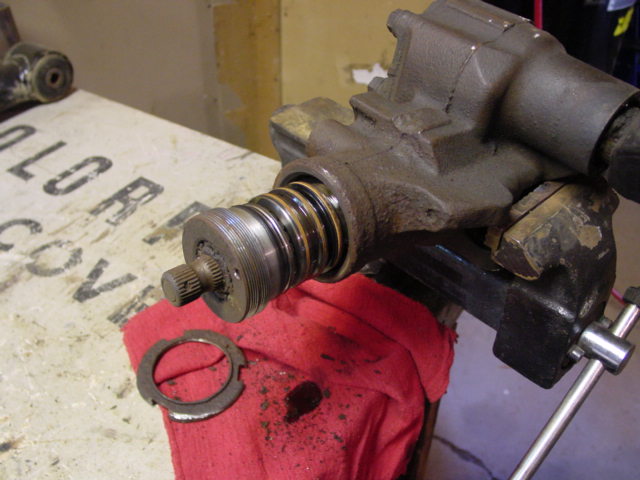
Then you can remove the cross pin as well

Now the axle shafts need to come out. All you need to do is push in each axle shaft until the c-clip falls out and the shafts will slide right out. Don’t lose the c-clips!

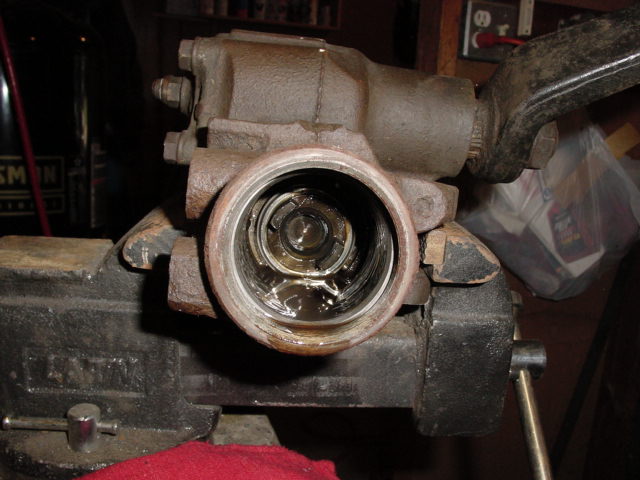
Then go ahead and remove the four bolts holding on the drum backing plates so you are left with only this:

If you need or want to replace your wheel bearings, now would be a great time to do that. I decided to skip that this time. Next I bent the hard brake line where I wanted it, and connected the new soft line to it. I routed it right now so that it comes up and then down again before connecting to the caliper. This will help keep it from getting snagged on the trails. I have not mounted the line yet, but plan to make a mount that will bolt to the leaf spring plate in the future. You can see the soft line in this picture:

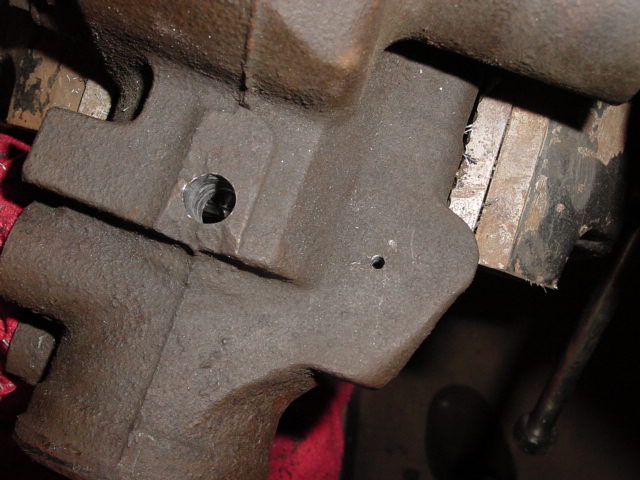
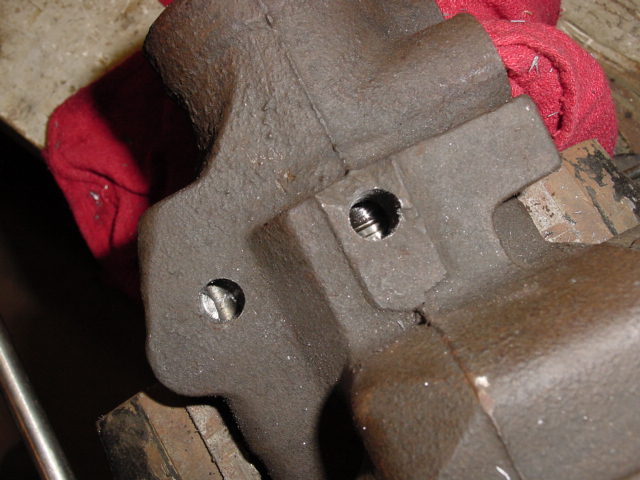
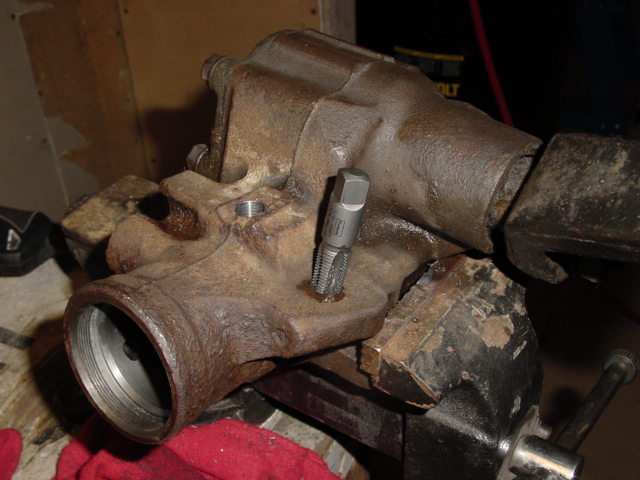
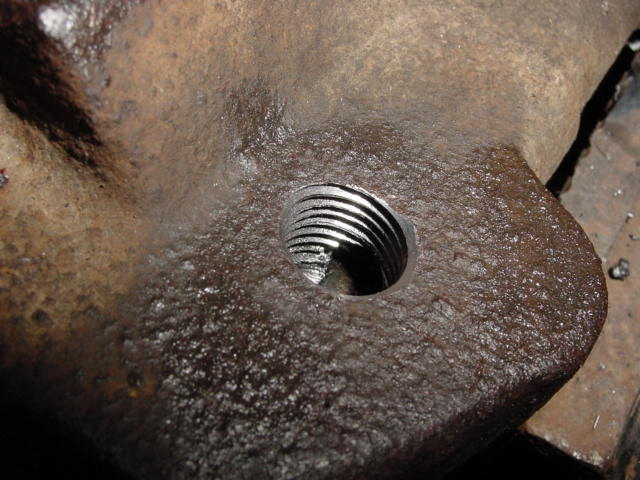
Now comes the only modification that you need to make for this conversion to work. You need to enlarge the center holes of the caliper bracket and backing plate, and drill out the bolt holes just a little bit. I used a die grinder on the center hole and just a normal drill on the bolt holes. The modification is very simple, as not much material needs to be removed for it to fit.

Now you can go ahead and bolt up the caliper bracket. I used the nuts that came off of the ZJ to mount it to the axle.

Then you can reinstall the axle shafts:

Load up the calipers with the new pads:

Finally, install the rotors. Don’t forget to bleed your brakes.

Put your wheels back on, and take it out for a test drive. You should notice an increase in braking performance.

I have not done anything with the e-brake yet, but I do plan to in the future. When I do, I will add another tech article showing how I do it.


Apr 28 2007

Pre-97 Rear Custom4x4 Bumper on 97+

OK, nothing big here, but I do know people have asked about this in the past, so I figured I’d post some pics of what I did, in case they can help someone else in the future 🙂

Anyways, when my 92 was still in decent shape, I was running a Custom4x4Fabrication rear bumper with tire carrier. Now that I have a 2000, I decided to install that bumper on my new rig…..good thing I kept it around 😉

Really, the only problem is the end caps. The hatch is wider on the 97+ so you can’t open the hatch with the old style bumper unless you modify it. I have seen someone bend the corners of the hatch to make it work, but I really didn’t like that idea. Instead I just cut down the end caps a little.

The bumper:

after i cut

test fit with some strap tacked in place

welded

blended

done. nice fit

sorry, dark pic

That’s all there is to it!


Oct 1 2006

Tapping a Saginaw Steering Box for hydraulic assist

(A Pictorial)

After ordering my hydro assist stuff the other day, I figured it would be a good idea to tap a steering box that already has problems so I don’t mess up my good one (when I get one).

After it was all said and done, I have to agree that it is pretty easy. It probably took me 1.5 hours, but I was taking my time, and could probably have done it quicker. However, there are a few places you need to be careful…..not to mention the problem with keeping all the metal shavings out of the box (there are A LOT of them!).

Here’s some pictures.

pilot holes

7/16″ started

top hole drilled…the toughest part of this one is not hitting the worm gear. Unfortunately, when my drill broke through, I managed to nick the worm gear a bit and put a small mark into it. I doubt it would cause any problems, but I am going to try and be even more careful when I do the box I plan to use.

both hole drilled

then just tap them with the 1/4″ NPT

Anyways, a magnet helps a lot to keeping the metal shavings out of the box, but there are a lot of them and they get all over the place.