Building My Perfect Backcountry Tripod
Over the past few years I’d been using a Manfrotto ballhead and carbon fiber tripod combination that had really begun to frustrate me in the field. Earlier this year I decided to invest in a new tripod and ballhead that would hopefully work much better for me, without the frustration. Before I started researching which components to buy, I figured out exactly what requirements I needed this new tripod to meet, and came up with the following:
- Lightweight: Since I spend much of my time hiking in the backcounty, both the tripod and ballhead need to be light, especially since this tripod would be accompanying me on long dayhikes and backpacking trips.
- Tall: I’m a pretty tall guy at 6’5″ and wanted a tripod that would get as close to my eye level as possible so that I would not have to hunch over too much while taking photos. I also wanted it to be tall without the use of an extended center column since that would just add extra weight and make the tripod more unstable.
- Compact: I know this is counter-intuitive to my previous requirement, bu I also wanted to find a tripod that would fold up pretty compact so that it would easily fit on whatever backpack I would be using.
- Twist-Locks: The flip-locks on my previous Manfrotto tripod were a major source of frustration for me. I would frequently find myself needing to setup the tripod quickly to catch the changing ling, only to get slowed down while trying to extend the legs. I knew that I would want twist-locks on the legs of my new tripod for speed of extending them. With the twist-locks, I would be able to extend the legs quicker by unlocking all three locks on each leg at the same time.
- Quality & Tough: I needed my new tripod to be tough and of good quality since I knew it would be getting knocked around in the field, in my Jeep and on my backpack.
You might notice that none of my requirements involve price. I learned a long time ago that if I want to be happy with a purchase, I need to make sure to get exactly what I want without worrying about the price, even if that means waiting a little longer to save up some extra money. I also knew that meeting these requirements wasn’t going to be cheap.
Here’s a rundown of each component that I ended up getting. Since I’ve now been using this tripod in the field for much of the year I will also give a little feedback on how each component has worked out for me.
Ballhead: Acratech GP-s
 After plenty of research I decided to go with the Acratech GP-s Ballhead. There are quite a few features of this ballhead that I liked. The open design of the ball makes keeping it clean and working smoothly a breeze. This especially helpful for me since it will frequently be in contact with sand and dust in the desert. There is also no dust-attracting grease required. The open design of the ball also allows a lot more movement compared other ballheads on the market. The knobs are coated in rubber and are all different shapes and sizes making them easy to operate. This feature-filled ballhead weighs in at under a pound and supports up to 25lbs. It’s also worth mentioning that this ballhead has a panning base and offers the ability to function as a gimbal head and a leveling panoramic head.
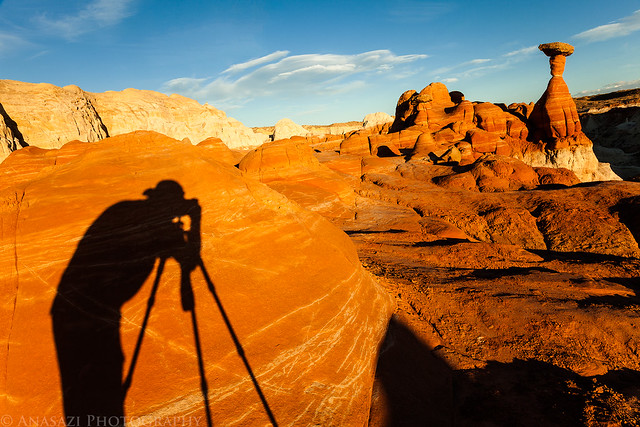
Quick Review: I absolutely love this ballhead! It’s so easy to operate in the field and never gets dirt trapped in the ball, so it’s always smooth to adjust. I also love the extra movement allowed by the open design. This piece of gear is very tough and has survived getting knocked around quite well, with only a few nicks and scratches in the powder-coating. Of course, it’s also lightweight which is great for carrying around on my backpack. I have used the panning base for a few panoramas and it has worked well. I even used the gimbal feature once when panning my camera vertically to create this image. I would highly recommend this ballhead for outdoor nature and adventure photographers.
Camera Plate: Really Right Stuff L-Bracket
 When I was deciding on a ballhead, I made sure to also look for one that used the Acra-Swiss mounting system. I was tired of dealing with the loose fitting Manfrotto plates during the last few years and I wanted a system that locked the camera down tight. One other thing I didn’t like about my previous tripod was having to flop my camera 90 degrees into a notch when taking vertical photos, which I frequently do. This would throw the balance of my tripod off-center and make it unstable. With an L-Bracket I could just flip the camera 90 degrees on it’s side and still have it perfectly centered over the top of the tripod.
Quick Review: There’s not much to the really Right Stuff L-Bracket. It’s just an aluminum bracket that mounts on your camera and stays there. I can say that it doesn’t get in the way of any of the functions on your camera, and doesn’t block access to any of the ports. It’s lightweight and doesn’t add too much bulk to the camera. It is noticeable that it is there, but you will quickly get used to it. This bracket is tough and helps protect your camera a little. I’m afraid to say that my camera gets used and abused. It gets knocked around when I’m climbing over boulders and has even fallen off my tripod. The bracket has lost some of it’s powder coating, but has held up well to the abuse. I’ll never go without an L-bracket again!
Tripod Legs: Feisol Tournament Tripod CT-3442 Rapid
 When I first started looking for some new tripod legs, I originally went to research Gitzo tripods. They are well-known for making the best tripods out there, so I assumed they would have what I was looking for. They made a few tripods that were close to what I wanted, but I would soon find out that Feisol actually had this model that matched my requirements even closer. I know quite a few people with these Feisol tripods, and all of them have nothing but good things to say about them, so I wasn’t worried about the quality. This tripod extends to 54.33″ without the center column, which was actually one of the tallest I was able to find (that didn’t weigh a ton), and it collapses down to 18.9″ which was also one of the shortest I was able to find. It accomplishes this feat because the legs fold back 180 degrees over the ballhead. This not only allows the tripod to fold down very small, it also has the added benefit of protecting the head. Even with all of these features, this tripod weighs in at only 2.3lbs, which makes it one of the lightest full-sized tripods I was able to find, too. The legs also have the twist-locks that I was looking for.
Quick Review: I’ve owned a few tripods over the years, but I have to say that this set of legs are the best I have used, by far! They are tough, easy to operate and even easy to clean. They extend pretty tall, even for a tall guy like me, but still fold up shorter than most other tripods in this class. I like that the legs bold back 180 degrees which has helped protect my ballhead from banging against things while hiking. I like the twist-locks better than the flip-locks, even though they are not as frustration-free as I had hoped they would be. I did lose a few of the rubber feet off the bottom of the legs and had an issue with the angle locks at the top of the legs not staying in place, but Feisol was quick to respond to these issues and repaired them under warranty. They even repaired it quickly and sent it back via 2-day shipping so that I could have it in time for a trip. Definitely some of the best customer service that I have dealt with. I will be using some glue or epoxy to keep the rubber feet in place this time. This is another item I would highly recommend to outdoor nature and adventure photographers out there.
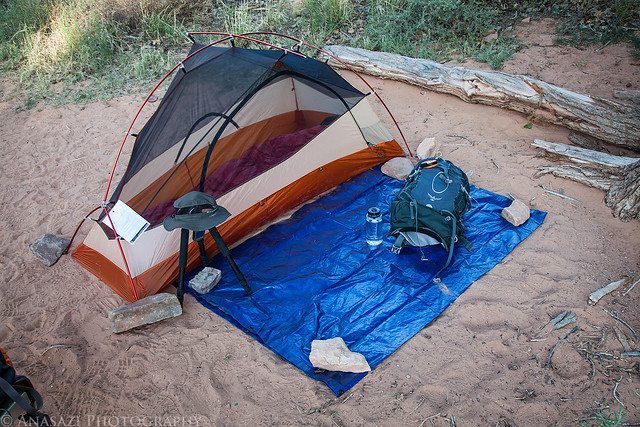
To sum things up, I am very please with this complete setup. It’s light weight, sturdy, easy to use, rugged and meets all of my requirements. It wasn’t the cheapest option out there, but everything works well together and I can rely on it in the field when I am trying to make images in harsh conditions. As you can see, the tripod also makes for a nice hat rack at camp! 😉
I hope this information is helpful to some of you out there, and if you have any questions, please feel free to leave a comment below and I’ll do my best to answer them.


