|
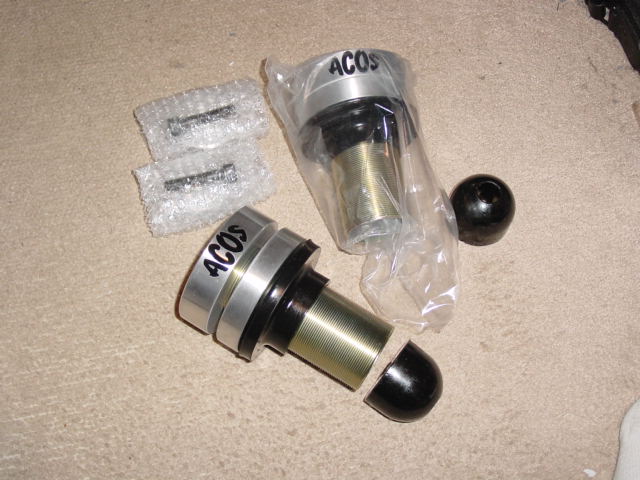
JKS ACOS Install (with welded bumpstop holder) I decided to go with the JKS ACOS so I could fine tune my front suspension as needed in the future. The install was pretty straight forward and not too difficult. Here's what I did.
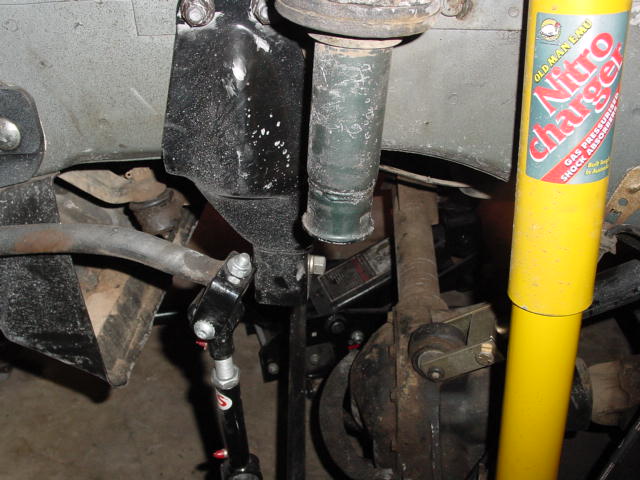
First things first, you need to drop the front axle and remove the spring. Then you have to pull out the rubber bumpstop and factory spring isolator. The rest of this install will be for the welded on bumpstop holders, because that is what mine had. If yours aren't welded on you can skip the next part.
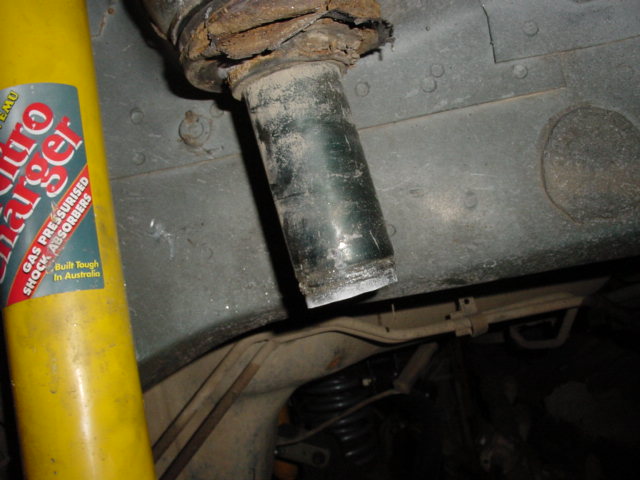
Now it's time to cut off the welded on bumpstop holder. I tried using both a sawzall and an angle grinder. Each worked fine, so use whichever one you feel more comfortable with (or have on hand).
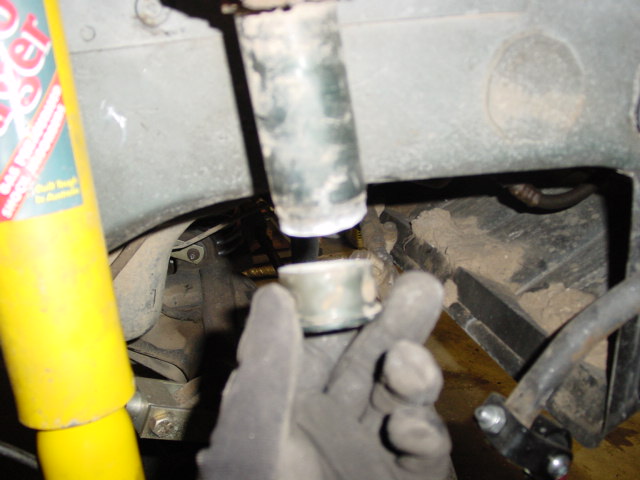
Look inside the holder and you will see a flat washer with a hole in it. The bumpstop holder must be cut off even with the bottom of this flat washer. The flat washer does not line up with the weld on the outside of the bumpstop holder, so it will be cut below the weld on the bumpstop holder. I just cut below where the washer was and then used an angle grinder to grind the rest even with the flat washer. This method worked pretty well for me.
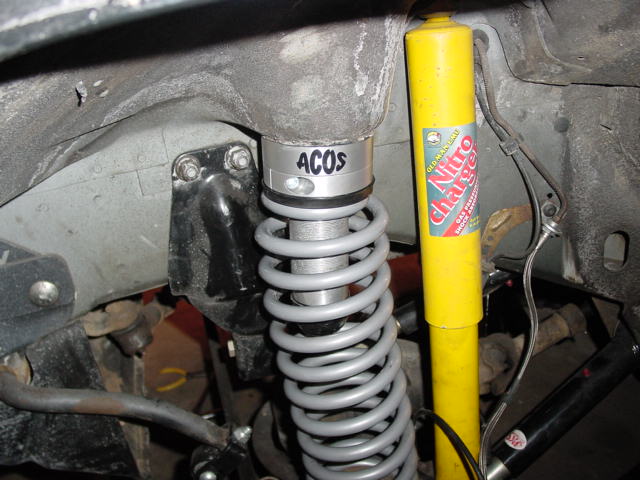
Next you will need a 10mm x 1.5p tap. Use this to tap the hole in the washer that you just cut the bumpstop holder level with. It's not very thick, so it only takes a few turns to cut the threads. Just make sure to use some cutting oil when cutting the new threads. Now all you have to do is take the pre-assembled unit and install it with the large ring at the top, over the coil post. It will be necessary to unscrew the large ring away from the adjuster ring prior to installing the assembly, then hread it out until the end of the tube is even with the threads on the transfer ring. Make sure the transfer ring is NOT up against the top flat surface. At this time also make sure the new lower bumpstop support fits into the threaded tube with the notch fully engaged into the threaded tube. Install the new bumpstop with the cap bolt. Snuggly tighten the allen head bolt into the coil support from the bottom using an allen wrench. Now adjust the transfer ring so it now touches the upper flat surface above it. Loosen the cap bolt so you can drop the threaded tube a little, then adjust the transfer ring one-half turn up towards the flat upper surface. Then just tighten the allen head bolt snuggly until the bumpstop starts to flatten out a little. Now is the time to adjust the coil adjuster to the height you want and then tighten the adjuster bolt. Then all you have to do is reinstall the spring and repeat the process on the other side. Then you are done!
|